Webhooks are the recommended way to receive real-time vehicle data from Smartcar. You can still use the REST API for retrieving data and issuing commands, but webhooks are the most scalable and reliable option for most use cases.
How to Set Up a Webhook Integration
Head over to the Smartcar Dashboard to set up your webhook integration. There are three main steps to set up a webhook in Smartcar: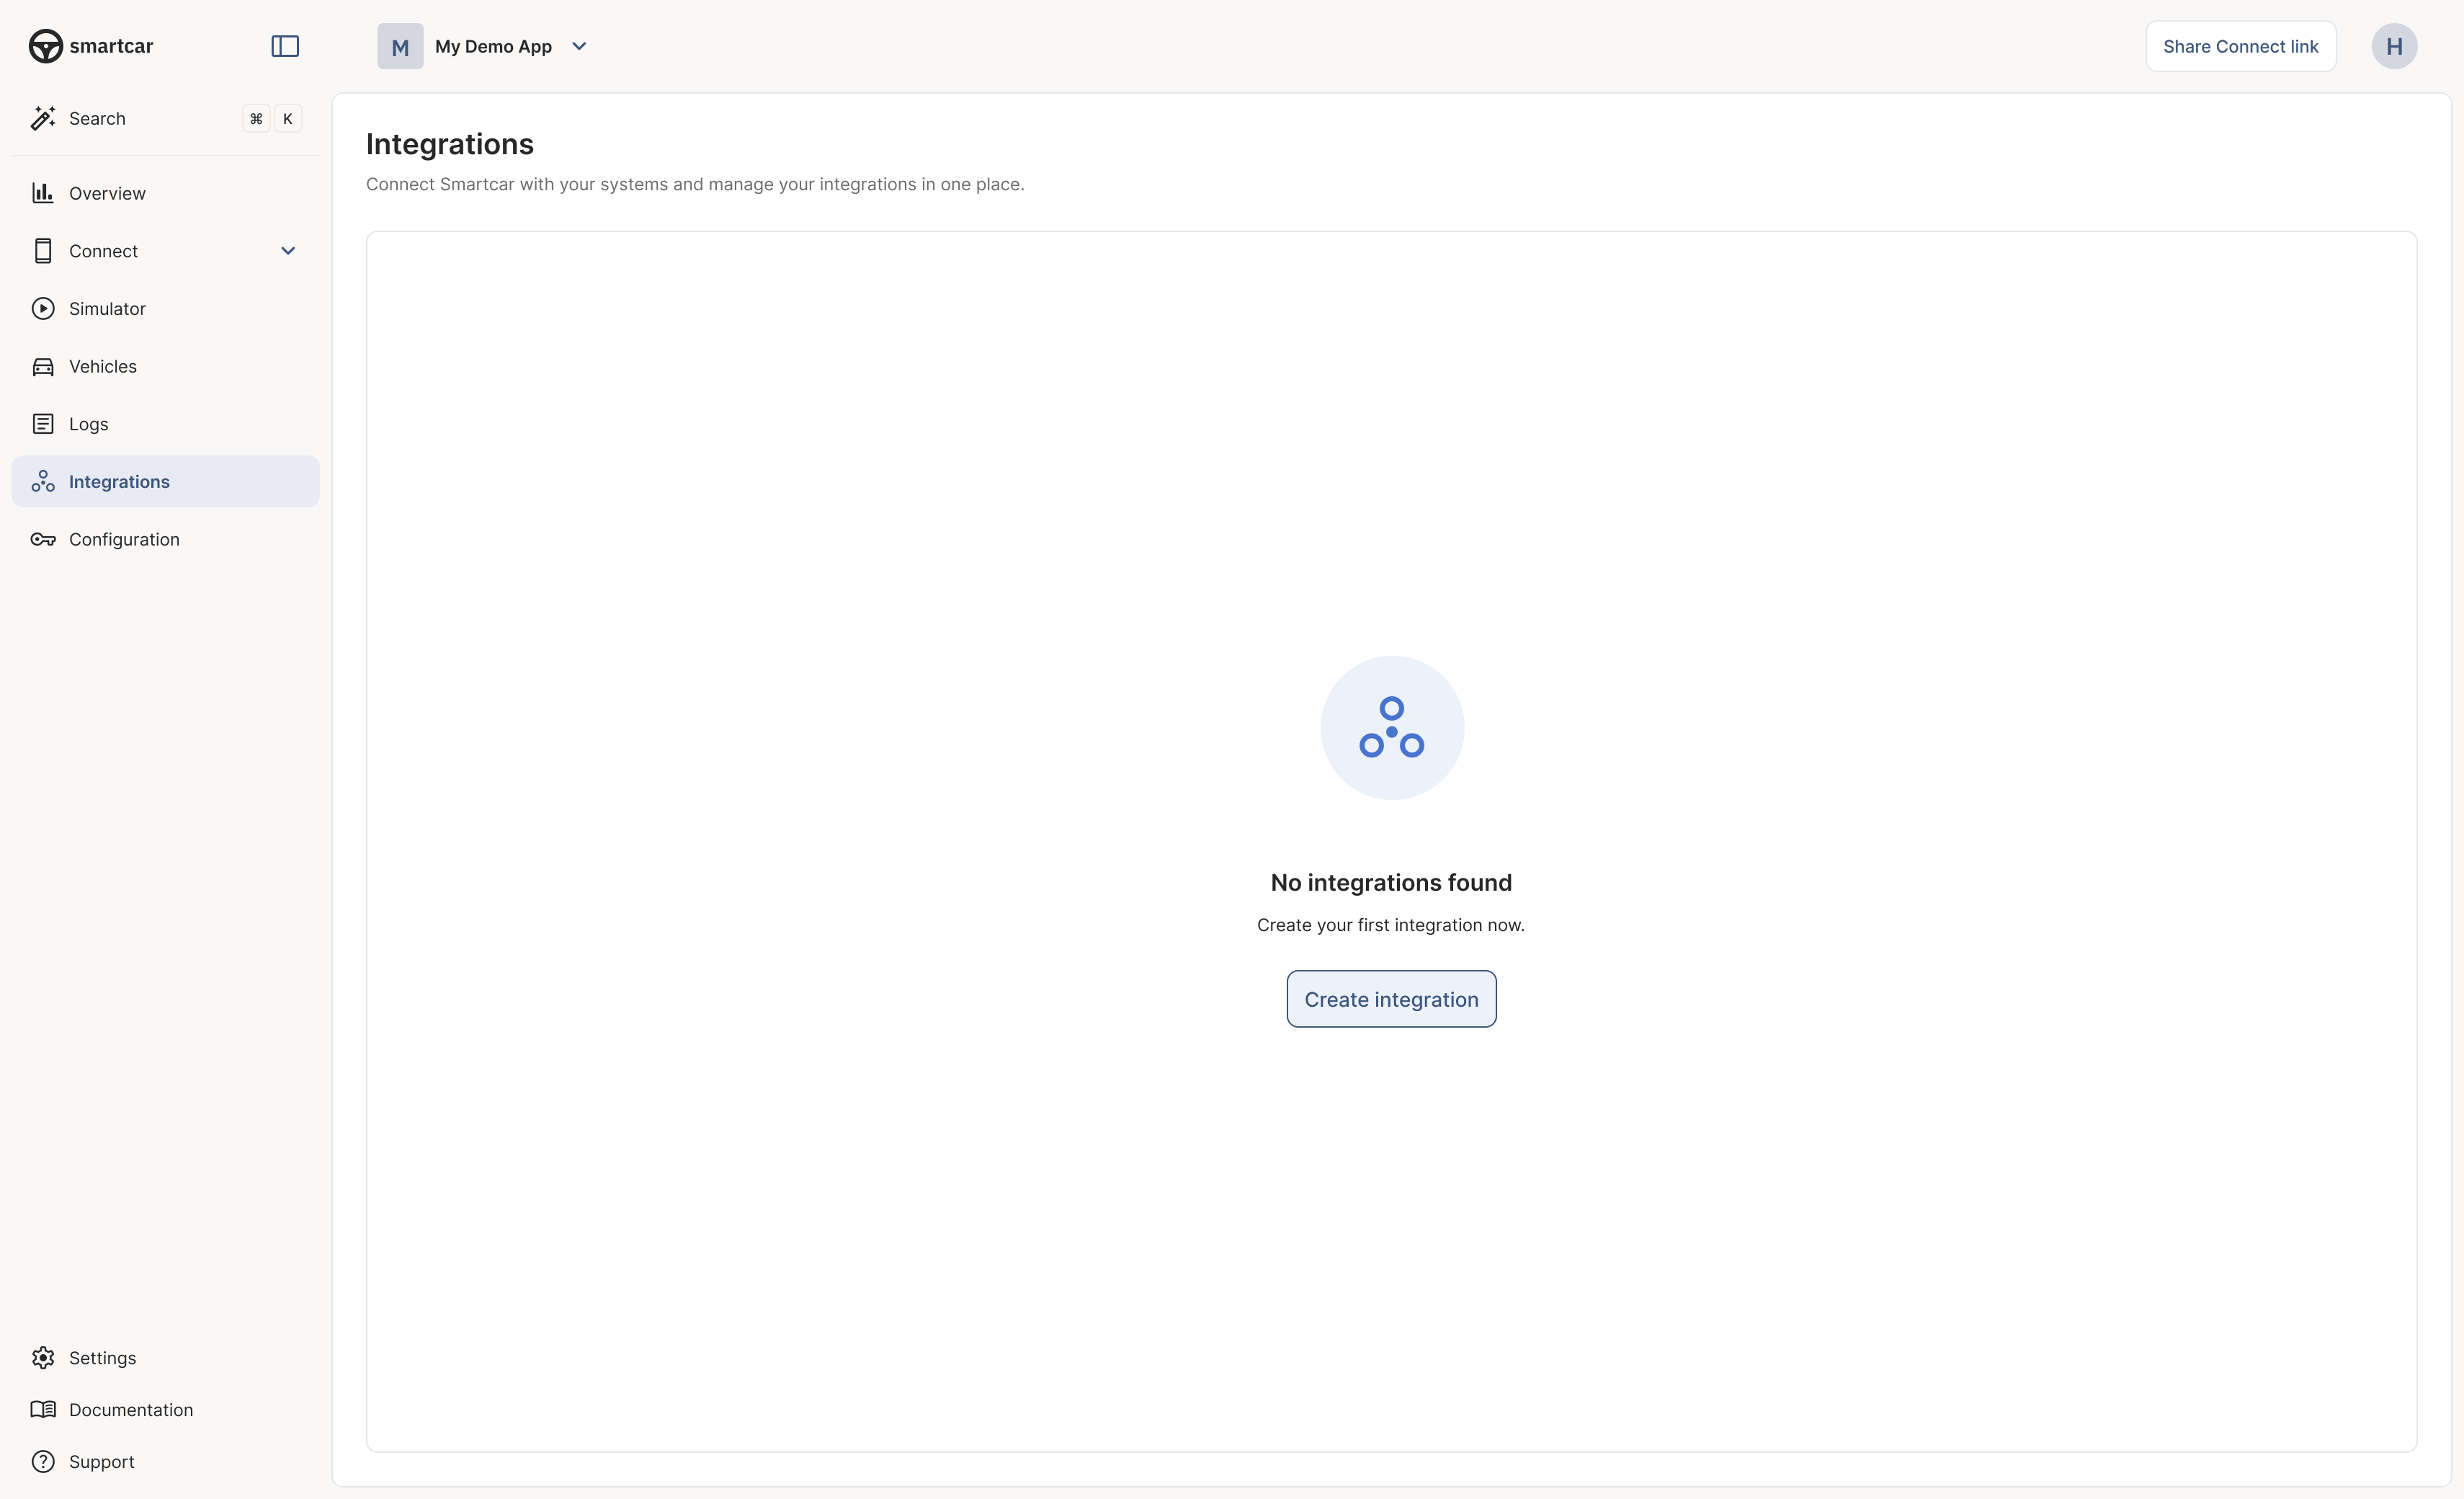
Integrations in Smartcar Dashboard
1
Select an Integration Type
From the integrations page, start by creating a new integration and choosing webhook. For most use cases, Webhooks are the recommended option.
2
Choose a Trigger
Define when Smartcar should send you a webhook. This is the vehicle event or condition that causes data to be delivered.
Example triggers:
Example triggers:
- Vehicle’s battery percentage changes
- Vehicle is plugged in or unplugged
- Airbags deploy
- Odometer changes as the vehicle drives
- Doors or windows open
- Vehicle location changes as it drives
3
Select the Data (Signals)
After choosing a trigger, specify what vehicle data (“signals”) should be included in the webhook payload.
Your selection directly maps to the permissions that the vehicle owner granted your application during the connection process. Smartcar offers over 20 specific permissions for granular control.
Your selection directly maps to the permissions that the vehicle owner granted your application during the connection process. Smartcar offers over 20 specific permissions for granular control.
4
Provide a Webhook callback URL
Enter the destination URL where Smartcar should send the data. This should be your application’s endpoint to receive webhook payloads.Your callback URI should handle the
"eventType" : "VERIFY" received in the request payload and respond with a 200 status code and a {"challenge": "{HMAC}"}. Please see this guide on how to
verify your callback URI.How are vehicles subscribed to your webhook(s)
Once the user grants access to your application, you can chose between automatically subscribing all vehicles to your webhook or by manually subscribing specific vehicles. Automatically subscribing vehicles can be done by selecting the option in the Dashboard when creating your webhook. When this option is selected, all vehicles that are connected to your application will be automatically subscribed to your webhook. New connections will also be automatically subscribed and start sending data right away. If you do not select the option to autosubscribe vehicles, you may also manually subscribe vehicles to webhoooks by issuing requests to the subscribe and unsubscribe with the corresponding webhook ID or from the Smartcar Dashboard.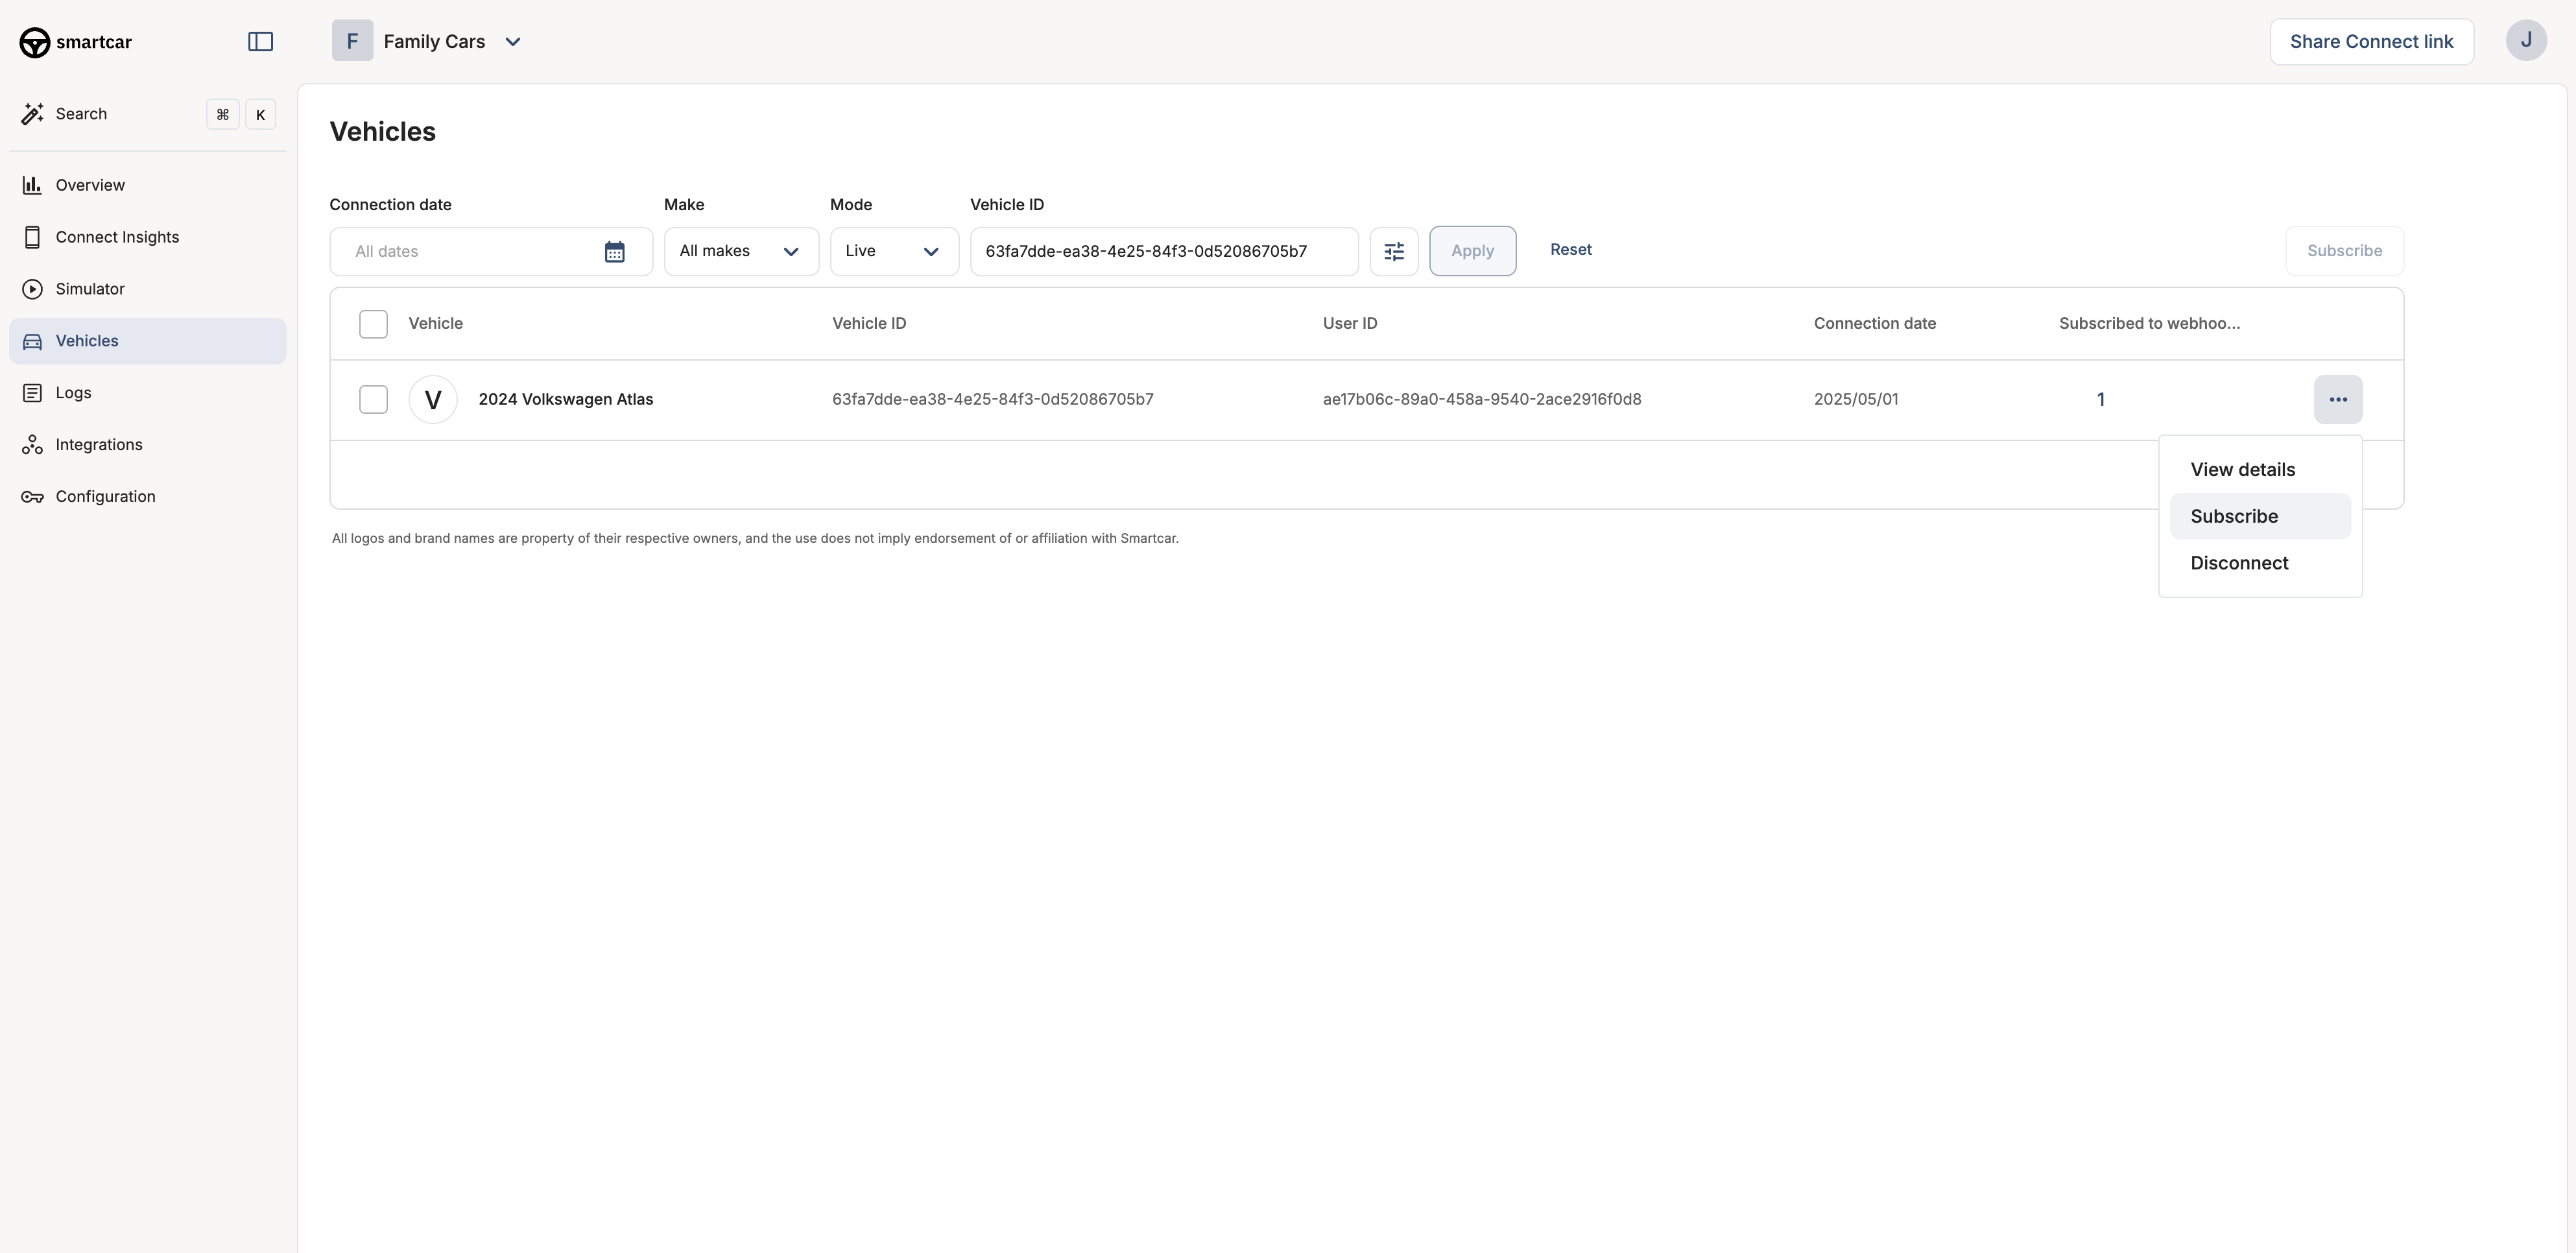
Webhook Subscription in Smartcar Dashboard
The first payload may only contain partial data if there were issues
retrieving data from the vehicle initially. Connection or compatibility
issues will be reported to your error callback URI as described below.
FAQS
What data can I access from a vehicle?
What data can I access from a vehicle?
All the data you’d expect from vehicles through the Smartcar API - standardized and accessible through Webhooks. Please refer to the list of supported signals for specific data points and signal names.
What does the webhook payload look like
What does the webhook payload look like
Please refer to these responses for success and errors.
How often will I get data?
How often will I get data?
Data update frequency will depend on the brand. Exact frequencies for each brand can be found
here. Please note that Smartcar will only send data if it has
changed.
Will I be billed for using webhooks during beta?
Will I be billed for using webhooks during beta?
During beta, developers will not be billed for using these webhooks.
How do I know if a vehicle supports a signal?
How do I know if a vehicle supports a signal?
Please refer to Vehicle compatibility issues.
Do I need a different URL for errors?
Do I need a different URL for errors?
No. You may use the same callback URI for both errors and data. In
order to distinguish between the types of payloads, please refer to the
type field.Ready to get started? Check out our Getting Started guides or tutorials to connect your first vehicle and set up your integration.